




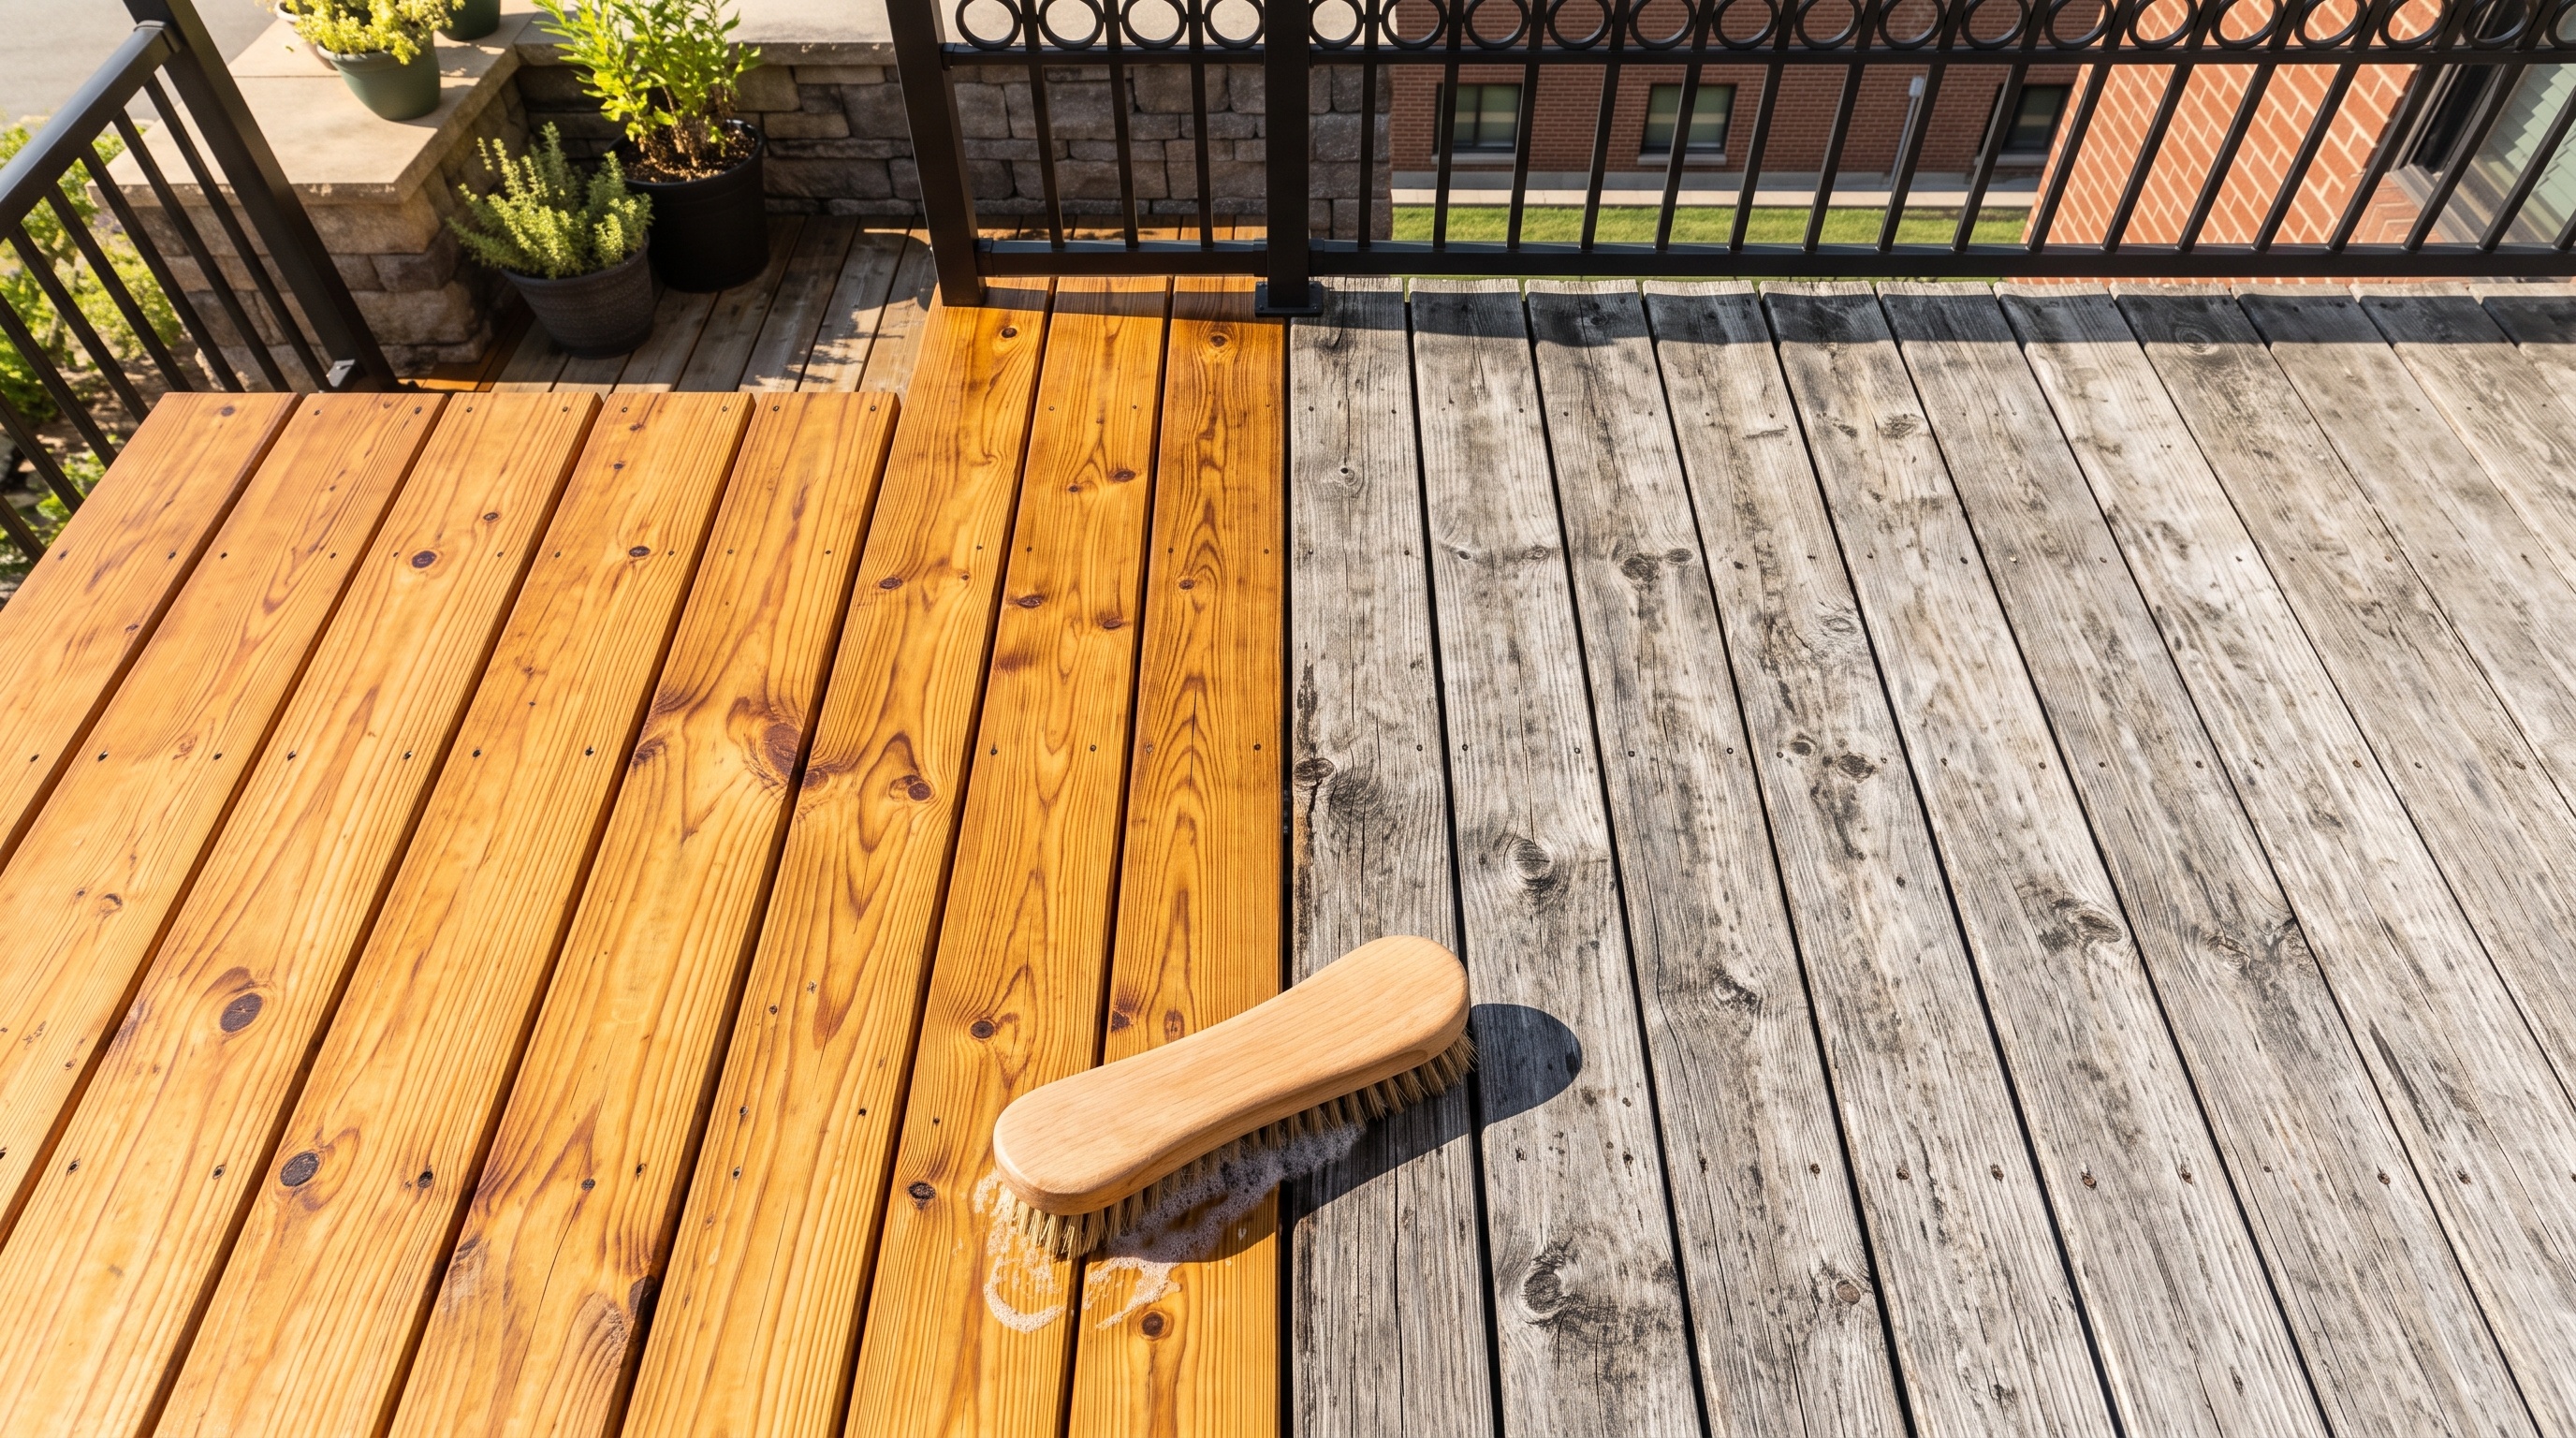
When a deck stain peels after one season, the stain usually is not the problem. Preparation is. Stain and sealer can only protect your deck if they bond with clean, sound, dry wood. Skip or rush the prep work, and even a high-quality finish can turn blotchy, sticky, or flaky long before it should.
That is why learning how to prepare your deck for staining and sealing is one of the most important parts of the entire project. Good prep helps your finish soak in evenly, look better, and stand up to East Texas sun, rain, and humidity. Here is a step-by-step look at how to do it right.
Why Deck Prep Matters So Much
Deck stain is designed to penetrate the wood and create a protective barrier against UV rays and moisture. When the surface is dirty, damp, covered in mildew, or coated with an old failing finish, the new stain cannot absorb properly. Instead, it may sit on top of the surface, dry unevenly, or peel away.
Proper preparation helps:
- The stain soak into the wood evenly
- The color look consistent across the deck
- The finish last longer before needing to be reapplied
- Prevent peeling, flaking, and blotchy spots
- Protect the wood more effectively against East Texas weather
Step 1: Check the Weather
Before you begin, look at the forecast. Preparing a deck for staining takes more than one day, since cleaning and drying come before application. You will want a stretch of dry, mild weather.
Avoid planning your project during:
- Heavy rain or a stormy forecast
- Extreme heat, which can make finishes dry too quickly
- Very humid stretches that slow drying
- Heavy pollen season, when pollen can stick to wet stain
In East Texas, mid-to-late spring and early-to-mid fall often offer the best conditions.
Step 2: Clear the Deck Completely
Remove everything from the deck, including furniture, grills, planters, rugs, decor, and toys. Clearing the surface allows you to clean, inspect, and stain every board evenly. It also prevents uneven color in areas that were previously covered.
Step 3: Protect the Surrounding Area
Cleaning products and stain can affect nearby surfaces and plants. Before you begin:
- Cover nearby plants and landscaping.
- Protect siding, doors, and windows near the deck.
- Move or cover items under and around the deck.
- Keep pets and children away from the work area.
Step 4: Inspect the Entire Deck
A careful inspection helps you find problems before you stain over them. Walk the entire deck and check:
- Boards for cracks, splits, soft spots, or rot
- Fasteners for loose or raised nails and screws
- Railings for wobbly sections or loose balusters
- Stairs for loose treads or damaged stringers
- Framing underneath, if accessible, for rot or damage
- The connection to the house for gaps or signs of separation
If you find structural issues like rotting posts, sagging joists, or separation from the house, address those first. Staining will not fix structural problems.
Step 5: Make Repairs
Fix any issues you found during the inspection:
- Replace cracked, split, or rotting boards.
- Secure or replace loose fasteners.
- Tighten wobbly railings and stair treads.
- Replace damaged balusters or trim pieces.
New boards may look different from older ones at first, but a proper stain can help blend the deck together.
Step 6: Sweep and Clear the Gaps
Sweep the entire deck to remove leaves, dirt, pine straw, and debris. Pay special attention to the gaps between boards. Debris trapped in these gaps holds moisture and can lead to rot. Clearing them helps water drain properly and allows the stain to reach the edges of each board.
Step 7: Clean the Deck Thoroughly
Cleaning is one of the most important parts of deck prep. Over time, decks collect dirt, grime, pollen, mildew, algae, and grease. All of these can keep stain from bonding properly.
Use a cleaner designed for decks and follow the product instructions carefully. Scrub the surface to loosen dirt and mildew, especially in shaded areas, high-traffic spots, and around grills. Do not forget railings, stairs, and the edges of boards.
A Word of Caution About Pressure Washing
Pressure washing can help clean a deck, but it must be done carefully. Using too much pressure or holding the nozzle too close can damage the wood, leaving gouges, fuzzy surfaces, or raised grain. That damage can affect how the stain absorbs and looks. If you are not experienced with pressure washing, a gentler cleaning method or professional help may be the safer choice.
Step 8: Remove the Old Finish if Needed
If your deck has an old stain that is peeling, flaking, or wearing unevenly, it needs to be removed before applying a new finish. Applying new stain over a failing coat is one of the most common reasons decks peel again quickly.
Not every deck needs a full strip. If the old finish has worn away evenly and is not peeling, a thorough cleaning may be enough. But if the old finish is failing, removing it gives the new stain a clean surface to bond with.
Step 9: Rinse Well
After cleaning or stripping, rinse the deck thoroughly to remove any remaining cleaner, residue, and loosened dirt. Leftover residue can interfere with how the stain absorbs.
Step 10: Let the Deck Dry Completely
This step requires patience, especially in East Texas humidity. Wood needs to dry thoroughly before you apply stain. Staining damp wood can trap moisture, cause uneven absorption, and lead to peeling or mildew under the finish.
How long drying takes depends on:
- Temperature and humidity
- Sun exposure
- Shade from trees or structures
- How much water the wood absorbed
Shaded decks and decks cleaned during humid weather may need extra time.
Step 11: Smooth Rough Areas
After cleaning and drying, some boards may feel rough or fuzzy, especially if the wood was weathered or pressure washed. Smoothing these areas helps the stain absorb more evenly and makes the deck more comfortable to walk on. Pay attention to railings, stair treads, and high-traffic areas.
After smoothing, sweep or blow away all dust before staining.
Step 12: Do the Water Test
Before staining, sprinkle a small amount of water on a few boards in different areas. If the water soaks in within a few minutes, the wood is ready to absorb stain. If water beads up, there may still be an old finish or residue on the surface that needs attention.
Step 13: Test the Stain
Before applying stain to the entire deck, test it in a small, less visible area. This lets you see how the color looks on your specific wood and how well it absorbs. Wood can take stain differently depending on its age, condition, and type.
Step 14: Do a Final Sweep and Check
Right before staining, do a final sweep to remove any leaves, dust, or debris that may have landed on the deck. Check the forecast one more time to make sure you have enough dry weather for the stain to dry and cure.
Preparing a New Deck for Staining
New decks often need some time before the first coat of stain, depending on the wood and how it was treated. Some wood needs to dry out before it can absorb stain properly. A light cleaning may also be needed to remove dirt and residue from construction. Your builder can recommend when your new deck will be ready.
Common Deck Prep Mistakes to Avoid
- Staining over dirt or mildew. The stain will not bond properly.
- Skipping repairs. Stain cannot fix loose boards or rot.
- Using too much pressure when washing. This can damage the wood.
- Not removing a failing finish. New stain over peeling stain will likely peel too.
- Rushing the drying time. Damp wood leads to poor absorption and early failure.
- Ignoring the gaps between boards. Trapped debris holds moisture.
- Forgetting railings and stairs. These areas need the same prep as the deck surface.
- Staining in direct sun or extreme heat. The finish may dry too fast and look uneven.
How Long Does Deck Prep Take?
Deck preparation usually takes longer than the staining itself. Inspection, repairs, cleaning, stripping, rinsing, drying, and smoothing can take a few days depending on the deck’s condition, size, and the weather. Heavily weathered decks or decks with failing finishes typically need more prep time.
DIY or Professional Deck Prep?
Some homeowners prepare and stain their own decks, but it takes time, effort, and attention to detail. Mistakes like damaging the wood with a pressure washer or staining too soon after cleaning can lead to disappointing results. Professional deck staining helps make sure each step is done correctly so the finish looks great and lasts.
Keeping Your Deck Ready for the Next Coat
Once your deck is stained and sealed, regular care makes future prep easier:
- Sweep regularly to remove leaves and debris.
- Clean off pollen, dirt, and mildew a few times a year.
- Clean up grease and spills quickly.
- Move rugs and planters occasionally to prevent trapped moisture.
- Watch for signs the finish is wearing, like water soaking in.
You can also reduce sun and rain exposure on part of your deck with a patio cover or pergola.
Professional Staining and Sealing From Rise Decks & Fence
At Rise Decks & Fence, we know that a great finish starts with great preparation. Our staining and sealing services include deck staining, wood sealing, deck restoration, and outdoor wood finishing. We take care with every step, from inspection and cleaning to drying and application, so your deck is protected from UV exposure and moisture.
If your deck needs more than a new finish, we can help with repairs, restoration, or a new custom deck. We also stain and seal fences, pergolas, and patio covers.
We serve homeowners in Tyler, Lindale, Flint, Jacksonville, Palestine, and surrounding East Texas communities. Visit our FAQ page for more answers.
Deck Prep FAQs
Do I need to clean my deck before staining?
Yes. Cleaning removes dirt, mildew, and grime that can keep stain from bonding properly.
Should I pressure wash my deck before staining?
Pressure washing can help, but it must be done carefully to avoid damaging the wood. Too much pressure can gouge the boards and raise the grain.
How long should my deck dry before staining?
It depends on temperature, humidity, and sun exposure. The wood should be completely dry, which may take longer in humid East Texas weather.
Do I have to remove old stain before restaining?
If the old finish is peeling or flaking, it should be removed. If it has worn evenly, a thorough cleaning may be enough.
Can I stain my deck the same day I clean it?
Usually not. The wood needs time to dry completely after cleaning before stain is applied.


